
Blog
How to Clean a Humidifier with Vinegar for Better Air
Learn how to clean your humidifier with white vinegar to prevent mold and mineral buildup, ensuring fresh, healthy air in your home.

If you use a humidifier regularly, you know it needs regular cleaning to keep the air healthy. White vinegar is a simple, natural way to descale and disinfect the unit without harsh chemicals. This article walks you through the step-by-step process of cleaning your humidifier with vinegar, along with tips to prevent buildup and when to consider replacing the unit.
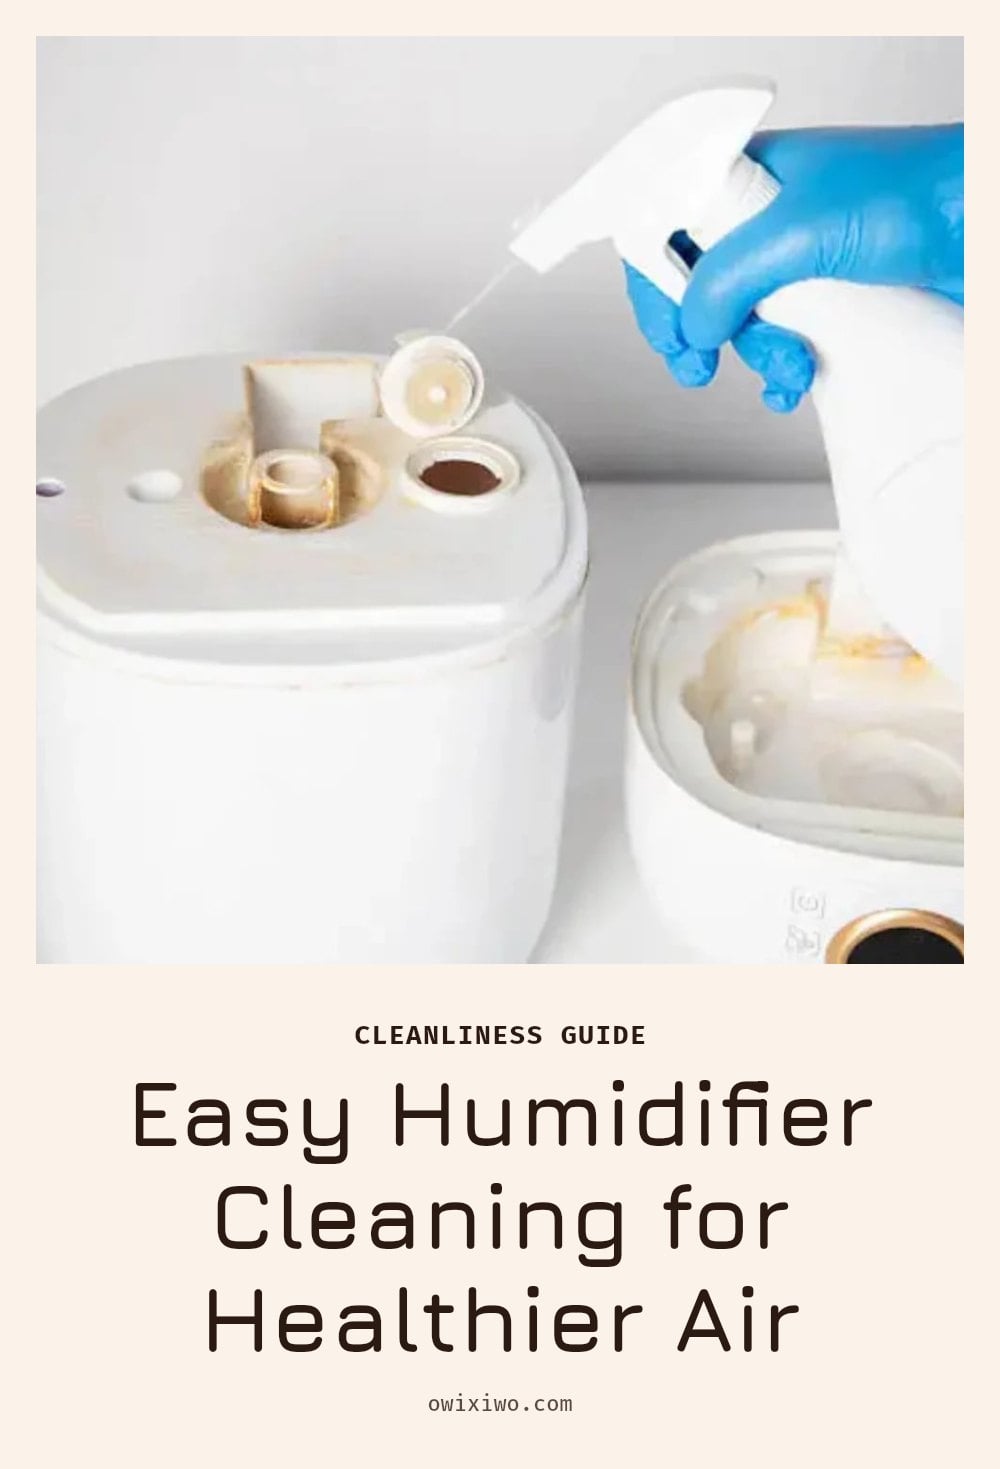
Courtesy of: simplyspotless.com.au
Key Takeaways
- Clean your humidifier every 1-3 days to prevent mold and bacteria growth.
- Use a solution of equal parts white vinegar and water to soak components.
- Soak parts for 20-30 minutes, then scrub away any residue.
- Rinse all parts thoroughly with clean water and allow them to air dry completely.
Cleaning Your Humidifier with Vinegar: The Quick Answer
Cleaning your humidifier with white vinegar is the simplest way to keep it running safely and efficiently. Regular cleaning prevents mold, mildew, and bacteria from building up inside. To do it, unplug the unit, disassemble it, and soak the water tank and removable parts in a solution of equal parts white vinegar and water. Scrub away any residue, rinse everything thoroughly with clean water, and let all parts air dry completely before reassembling. Consistent cleaning keeps your humidifier working properly and the air you breathe clean.
Why Regular Humidifier Cleaning is Non-Negotiable
Why Regular Humidifier Cleaning is Non-Negotiable
A humidifier that isn’t cleaned every 1-3 days can quickly turn into a breeding ground for mold, mildew, and bacteria. Standing water and warm conditions are perfect for microbial growth. Mineral deposits from tap water also build up over time, coating the inside surfaces and reducing the unit’s efficiency. Those deposits create rough spots where microbes can hide and multiply.
When the humidifier runs, it disperses these microorganisms into the air along with the mist. That can affect your indoor air quality and may cause respiratory irritation or other health concerns. Regular cleaning with vinegar removes both the mineral scale and the microbes, keeping the mist clean and the unit running at full power.
Gather Your Cleaning Essentials
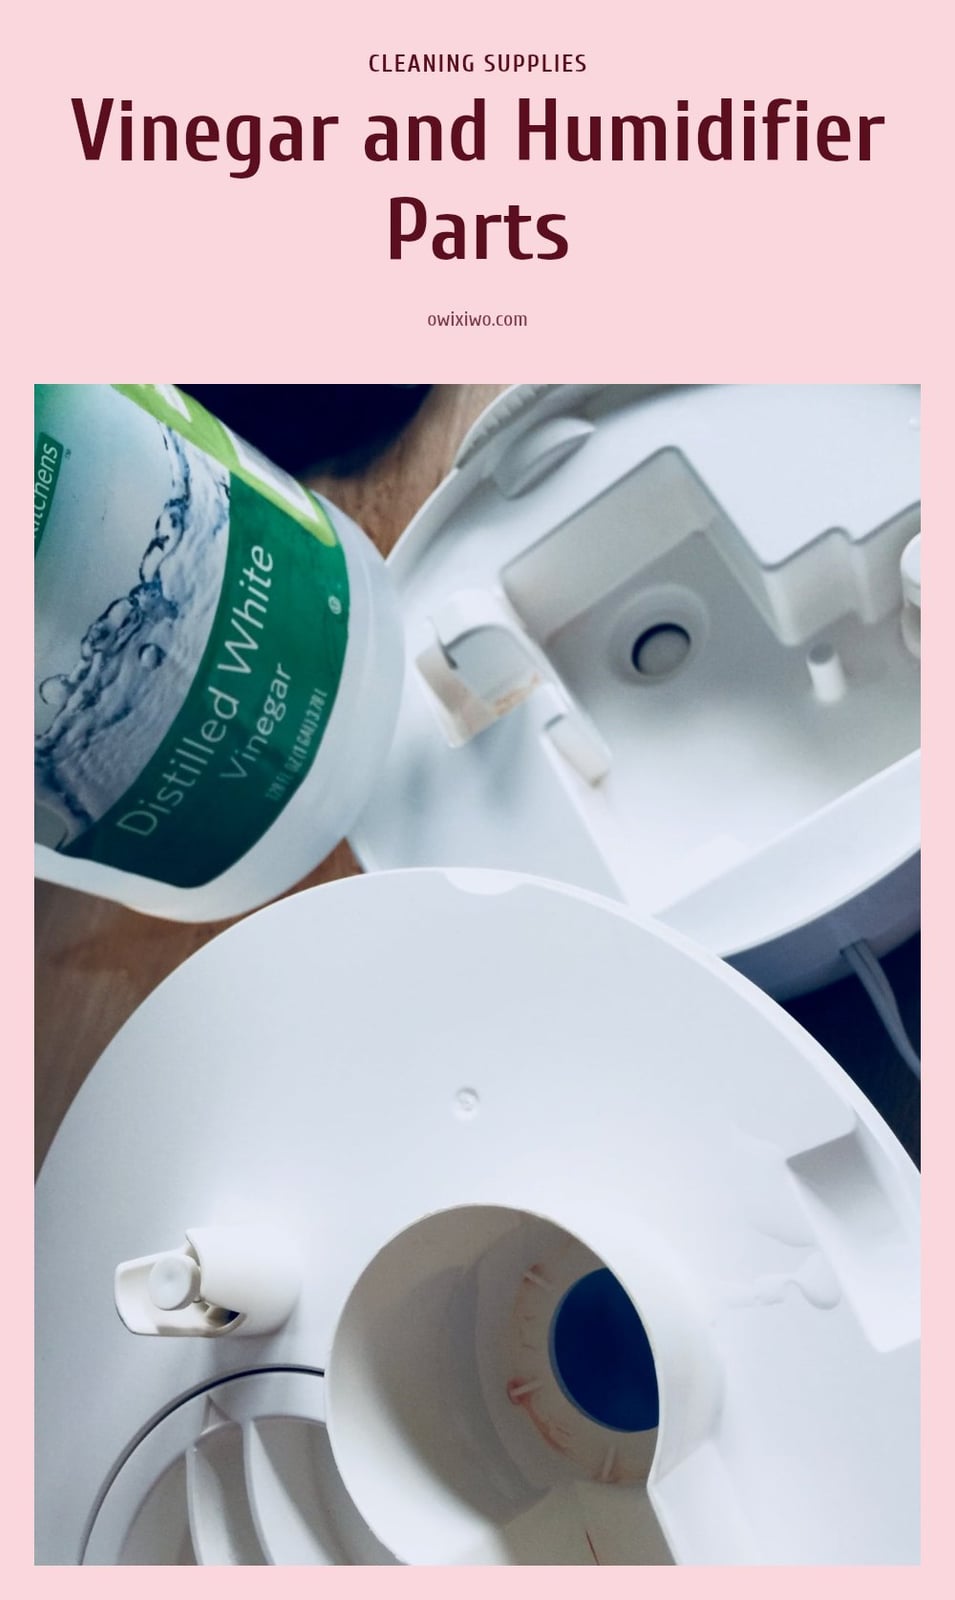
Photo credit: thecurrymommy.com
Before you start, gather these items. You likely have most of them at home already.
- White vinegar: A natural disinfectant and descaler that breaks down mineral deposits without harsh chemicals.
- Clean water: For diluting the vinegar and for the final rinse.
- Soft brush or sponge: For scrubbing away residue without scratching plastic surfaces.
- Microfiber cloth: For drying and wiping down the exterior and interior after rinsing.
- Small cleaning brushes: Helpful for reaching tight spaces and crevices in the water tank and base.
Step-by-Step: Cleaning Your Humidifier with Vinegar

Image credit: theeverydayfarmhouse.com
- Unplug the humidifier: Always disconnect the unit from power before you touch any part of it. This prevents electric shock and is the first step for any cleaning.
- Disassemble the unit: Separate the water tank, base, and any removable components like filter covers or mist channels. Refer to your manual if you are unsure how parts come apart.
- Prepare the vinegar solution: Mix equal parts white vinegar and clean water in a container large enough to hold the water tank and other removable parts. For a standard tank, a 50/50 mix of about 2 cups each works well.
- Soak the components: Submerge the water tank, base, and any other removable parts in the vinegar solution. Let them soak for 20-30 minutes. This loosens mineral scale and kills mold and bacteria.
- Scrub away residue: After soaking, use a soft brush or sponge to scrub the inside of the tank, the base, and all surfaces. Pay extra attention to corners and crevices where buildup is stubborn.
- Rinse thoroughly: Rinse every part with clean, fresh water until no vinegar smell or residue remains. Leftover vinegar can cause an unpleasant odor and may damage the unit over time.
- Air dry completely: Place all parts on a clean microfiber cloth or drying rack and let them air dry fully. Reassembling wet parts creates a perfect environment for mold to grow.
Common Humidifier Cleaning Mistakes to Avoid
Not cleaning often enough: Mold and bacteria can start growing within 1-3 days. Skipping that schedule means you’re likely breathing in what’s building up inside.
Using harsh chemicals: Bleach or abrasive cleaners can damage the plastic and leave residues that get released into the air. Stick with white vinegar.
Failing to rinse thoroughly: Leftover vinegar can cause an unpleasant smell and may eventually corrode internal parts. Rinse until you can’t smell vinegar anymore.
Ignoring manufacturer instructions: Some models have parts that shouldn’t be submerged or require specific cleaning methods. Check the manual before you start.
Not allowing parts to dry completely: Reassembling wet components creates a perfect environment for mold. Let everything air dry fully before putting it back together.
Keep Your Humidifier Cleaner Longer: Prevention Tips
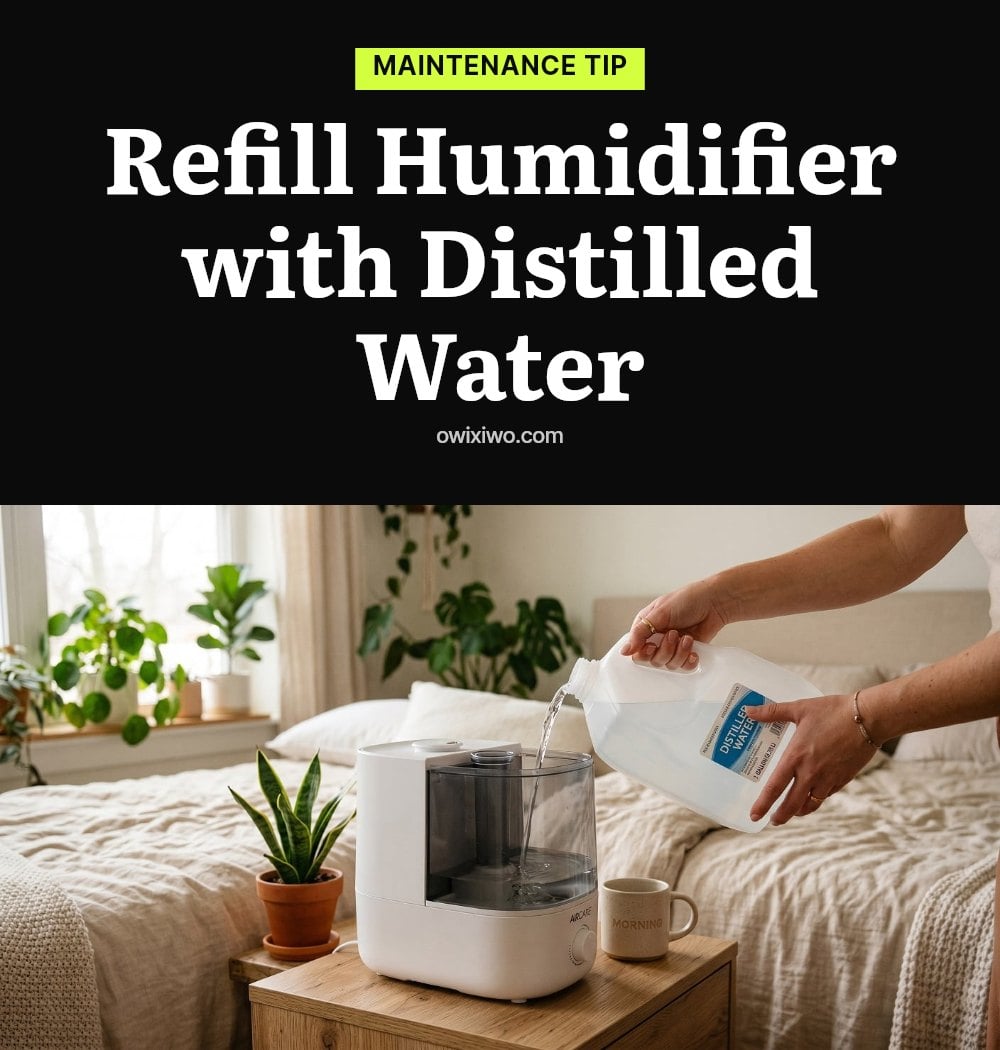
Source: purific.com
Use distilled water: Tap water contains minerals that form limescale inside your humidifier. Distilled water cuts that buildup dramatically.
Empty and dry daily: Don’t let water sit in the tank when the humidifier isn’t running. Empty it, wipe the inside, and leave the lid off until next use.
Regular quick rinses: A 30-second rinse of the tank and base with fresh water each day prevents slime and mineral deposits from forming.
Change filters: Replace humidifier filters every 1-3 months, or sooner if you notice reduced output or a smell. Check your manufacturer’s recommendation for your model.
When to Consider Replacing Your Humidifier
If you still notice mold or a musty smell after a thorough cleaning, the unit may have internal buildup that you can’t reach. When a humidifier stops producing mist effectively or starts making unusual noises, internal damage may be the cause. For older units with cracks or visible wear, replacement is often safer than continued use, especially if the plastic is breaking down.
Frequently Asked Questions
How often should I clean my humidifier?
Clean your humidifier every 1-3 days to prevent mold and bacteria from building up. For a deeper clean, use a vinegar soak once a week. If you use distilled water, you may be able to stretch the time slightly, but daily maintenance is still best for hygiene.
Can I use bleach to clean my humidifier?
No, avoid bleach and other harsh chemicals. They can damage the plastic parts and leave harmful residues that get released into the air. White vinegar is a safe, natural alternative that disinfects and descales effectively without the risks.
Why does my humidifier smell bad after cleaning?
A bad smell after cleaning usually means you didn’t rinse all the vinegar away or left moisture inside. Rinse every part thoroughly with clean water and let everything air dry completely before reassembling. If the smell persists, there may be hidden mold you can’t reach.
Is it better to use distilled water in a humidifier?
Yes, distilled water is much better than tap water. Tap water contains minerals that create limescale buildup inside the humidifier, which reduces efficiency and can harbor microbes. Distilled water cuts that buildup dramatically and keeps your humidifier cleaner longer.
What if my humidifier has persistent mold after cleaning?
If you still see mold or smell mustiness after a thorough cleaning, the unit may have internal buildup you can’t reach. In that case, it’s best to replace the humidifier. Continuing to use it could release mold spores into the air, which is a health risk.
Final Thoughts
Make it a habit to clean your humidifier every 1-3 days, especially during heavy use. A deeper clean with white vinegar once a week will keep mineral deposits and microbes in check. Expect that consistent cleaning extends the life of your unit and helps maintain better indoor air quality. With a regular schedule, you can enjoy the benefits of a humidifier without worrying about what might be hiding inside.
This article is for informational purposes only and does not constitute medical or professional advice. For persistent respiratory issues or concerns about mold exposure, consult a healthcare provider or a qualified professional.
Spring is a season of transformation, and our skincare routine needs to adapt accordingly. The weather’s constant fluctuations can challenge the delicate skin of our lips, often leading to dryness or irritation. From my own experience, I’ve learned that keeping lips soft and hydrated during spring requires a mix of proactive care and the right products. In this article, I’ll share practical, tried-and-tested strategies to help you achieve luscious, healthy lips all season long.
Understanding Spring’s Effects on Lips
Why Spring Requires Special Lip Care
Spring weather brings warmer temperatures and higher humidity, which can ease winter’s harsh dryness. However, wind, sun exposure, and allergens also become more prominent, leading to chapping or irritation. Adjusting your routine for these challenges ensures your lips stay healthy and protected.
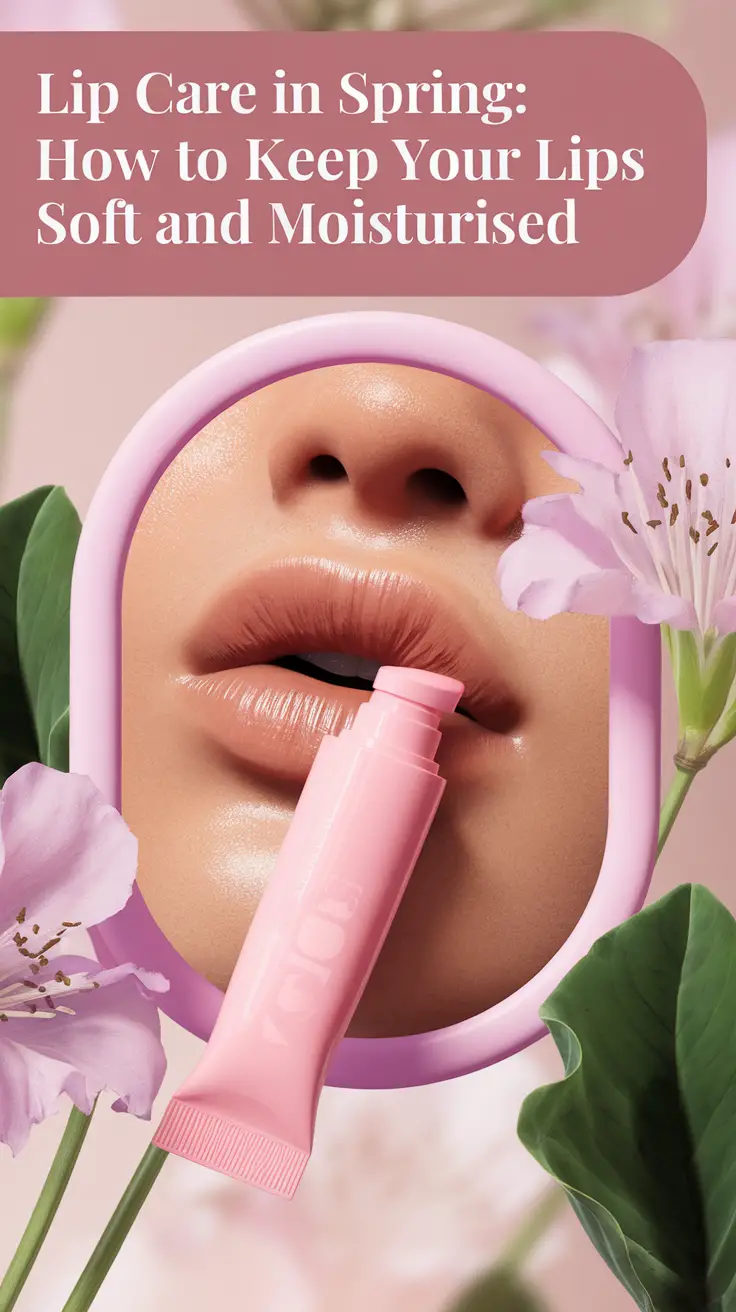
The Essential Lip Care Routine
1. Exfoliation: Renewing and Revitalizing
Exfoliating removes flaky, dead skin cells, allowing lip balms to penetrate more effectively. I recommend doing this gently 1-2 times a week to avoid irritation.
DIY Exfoliation Recipe
| Ingredient | Measurement | Purpose |
|---|---|---|
| Sugar (fine) | 1 teaspoon | Gently exfoliates |
| Honey | 1 teaspoon | Soothes and moisturizes |
| Olive oil | A few drops | Adds hydration and softness |
Mix these ingredients and massage them onto your lips in circular motions. Rinse off with warm water and pat dry.
2. Hydration: The Cornerstone of Lip Care
Moisturizing your lips is essential, as they lack oil glands. Choose a balm with nourishing ingredients like shea butter, beeswax, or hyaluronic acid. Reapply frequently, especially after eating or exposure to wind.
Best Lip Balms for Spring
| Product Name | Key Ingredients | Benefits |
|---|---|---|
| Sugar Advanced Therapy | Shea Butter, SPF 15 | Hydration and sun protection |
| Laneige Lip Sleeping Mask | Berry Extract | Overnight deep repair |
| Aquaphor Healing Ointment | Panthenol, Petrolatum | Restores severely dry lips |
3. Sun Protection: Shield Against Harmful Rays
Did you know that lips are one of the most sun-sensitive areas of your skin? Applying SPF lip balm prevents sunburn and discoloration. Always carry one with you during outdoor activities.
4. Break Bad Habits
Some habits, like licking or biting your lips, can cause more harm than good. Saliva dries out the lips quickly, and biting leads to cracks. Instead, reach for a hydrating balm whenever your lips feel dry.

Spring-Specific Challenges and Solutions
Managing Allergy-Induced Dryness
Spring allergies can cause frequent nose wiping, leading to irritation around your lips. To combat this:
- Use hypoallergenic, fragrance-free lip products.
- Apply a thin layer of petroleum jelly to create a protective barrier.
Dealing with Windy Days
Wind can strip moisture from your lips, so layering an occlusive balm over a hydrating one can lock in moisture and protect against the elements.
Nutrition for Naturally Soft Lips
Hydration starts from within! Include these nutrient-rich foods in your diet for naturally healthy lips:
- Vitamin E: Found in almonds and spinach, it aids in repairing skin cells.
- Omega-3 Fatty Acids: Salmon and flaxseeds help maintain moisture.
- Hydrating Foods: Cucumbers and watermelon keep your skin (and lips) hydrated.
DIY Lip Care Remedies
Natural remedies can be effective and budget-friendly. Here’s another easy-to-make mask for extra hydration:
DIY Aloe Vera Lip Mask
| Ingredient | Purpose |
|---|---|
| Aloe Vera Gel | Soothes and hydrates |
| Coconut Oil | Locks in moisture |
Mix equal parts aloe vera gel and coconut oil. Apply before bed and leave it on overnight.
Practical Tips for Outdoor Activities
- Always carry an SPF lip balm for reapplication.
- Wear a scarf or mask on windy days for extra protection.
- Avoid licking your lips during outdoor activities to minimize dryness.

Emergency Lip Repair Tips
If your lips are already chapped or cracked:
- Apply a thick layer of medical-grade lanolin for immediate hydration.
- Use a lip sleeping mask overnight for intensive repair.
- Avoid exfoliation until your lips heal completely.
FAQs: Your Lip Care Questions Answered
1. How often should I exfoliate my lips?
Once or twice a week is enough to remove dead skin cells without causing irritation.
2. Is SPF necessary for lip care in spring?
Absolutely! Lips are prone to sun damage, and an SPF balm prevents burns and discoloration.
3. What ingredients should I look for in a lip balm?
Shea butter, beeswax, hyaluronic acid, and SPF are excellent choices for hydration and protection.
4. Can I use my winter lip balm in spring?
You can, but switching to a lighter, hydrating formula suited to spring’s milder weather is better.
5. What foods can improve lip health?
Vitamin E (almonds), Omega-3s (salmon), and hydrating foods (cucumber) all contribute to softer, healthier lips.
Conclusion
Spring is the time to rejuvenate your lips and protect them from new seasonal challenges. By exfoliating regularly, hydrating with nourishing balms, protecting against the sun, and addressing allergies, you can keep your lips looking and feeling their best. Don’t forget, proper care and a balanced diet are key to achieving soft, healthy lips. Start today, and let your lips bloom as beautifully as the season!
Spring is here, and it’s the perfect season to rejuvenate and refresh your skincare routine. As temperatures rise and the air becomes more humid, our skin needs tailored care to stay balanced and healthy. This year, skincare is all about innovation, sustainability, and embracing what works for your unique skin. Let’s dive into the most exciting spring skincare trends of 2025, from advanced technology to eco-friendly beauty solutions.
Personalized Skincare: Tailored to You
Personalized skincare has transformed how we care for our skin. With AI-powered tools and cutting-edge diagnostics, products are now designed specifically for your skin’s needs, taking into account factors like hydration levels, oil production, and even stress. This trend allows you to achieve visible results faster and more effectively.

Benefits of Personalized Skincare
- Customized Formulations: Products that match your skin type and goals.
- Targeted Results: Addressing specific issues like acne, redness, or fine lines.
- Time-Saving: Eliminates trial-and-error by using what works best.
| Traditional Skincare | Personalized Skincare |
|---|---|
| Generalized formulations | Tailored to individual needs |
| May cause irritation | Reduced risk of side effects |
| Requires multiple products | Multifunctional solutions |
Tip:
Try AI-driven apps or consultations at skincare clinics to create a tailored regimen.
Sustainability in Skincare
Eco-friendly and ethical beauty products are no longer just an option—they’re a necessity. Brands are stepping up with recyclable packaging, cruelty-free formulations, and clean ingredients that align with a greener planet.
Key Features
- Biodegradable Packaging: Reduces environmental impact.
- Cruelty-Free Testing: Ethical practices ensure no harm to animals.
- Natural Formulations: Avoid harsh chemicals and promote skin health.
Practical Tips
- Look for certifications like “EcoCert” or “Leaping Bunny” on packaging.
- Support brands that offer refillable options or zero-waste initiatives.
| Feature | Example |
|---|---|
| Recyclable Packaging | Glass jars, compostable bags |
| Cruelty-Free Certification | Leaping Bunny, PETA-approved |
| Vegan Ingredients | Plant-based alternatives |

Biotech Ingredients: The Future of Skincare
The rise of biotech in skincare has introduced potent ingredients like bio-retinol and peptides. These ingredients provide all the benefits of traditional products without irritation, making them perfect for sensitive skin types.
Trending Biotech Ingredients
- Bio-Retinol: Anti-aging without dryness or peeling.
- Exosomes: Boost cell repair and collagen production.
- Peptides: Improve elasticity and reduce fine lines.
Checklist for Biotech Skincare
- Patch-test new ingredients.
- Gradually incorporate them into your routine.
- Monitor results for visible improvements.
Skinimalism: Simplify Your Routine
Minimalism meets skincare with “skinimalism,” a trend focused on fewer products and more effective results. This approach emphasizes natural beauty, reducing the risk of irritation from overloading your skin.
The Essentials for Skinimalism
- Gentle Cleanser: Removes dirt without stripping moisture.
- Hydrating Serum: Plumps and refreshes.
- Lightweight SPF: Essential for protection in spring.
| Old Routine | Skinimalism Routine |
|---|---|
| 5-7 steps daily | 3-4 multifunctional products |
| Time-consuming | Quick and efficient |
| Higher chance of irritation | Reduced risk |
Pro Tip:
Focus on high-quality, multifunctional products to streamline your routine.
Seasonal Adjustments for Spring
Spring’s warmer weather and increased allergens call for adjustments to your skincare routine. Transitioning from heavier winter products to lightweight formulations is key.
Tips for Spring Skincare
- Switch to Gel-Based Products: Perfect for managing humidity without clogging pores.
- Hydrate Wisely: Use mists to keep your skin fresh throughout the day.
- Protect Against Sunlight: A broad-spectrum SPF 30+ is non-negotiable.
Combat Pollen Allergies
- Use calming ingredients like chamomile and aloe vera.
- Cleanse twice daily to remove allergens from your skin.

Tech-Integrated Skincare
Smart devices are changing how we approach skincare. AI-powered tools analyze your skin, while LED therapy masks offer at-home treatments that were once reserved for dermatologists.
Must-Have Devices
- AI Beauty Mirrors: Analyze skin and suggest routines.
- At-Home LED Masks: Stimulate collagen and calm inflammation.
- Smart Apps: Track skin changes over time.
Tip:
Invest in tools that align with your skincare goals, such as anti-aging or hydration-focused devices.
Wellness-Infused Beauty
Skincare now goes beyond the surface, incorporating wellness elements like adaptogens and CBD to target stress-induced skin issues.
Key Wellness Ingredients
- Adaptogens: Combat oxidative stress and support skin repair.
- CBD: Soothes inflammation and redness.
- Aromatherapy Oils: Promote relaxation while nourishing your skin.
Pro Tip:
Incorporate wellness products into your nighttime routine for maximum benefits.
Conclusion
Spring 2025 is a season of transformation, not only for nature but also for skincare. By embracing personalized routines, eco-conscious choices, and advanced technologies, you can achieve glowing, healthy skin tailored to your needs. Remember, skincare isn’t one-size-fits-all—experiment, adjust, and listen to your skin’s unique needs.
FAQs
- What’s the best SPF for spring?
Opt for lightweight, non-comedogenic formulas with SPF 30 or higher. - How do I transition my routine for spring?
Swap heavy moisturizers for gel-based options and include hydrating mists. - Are biotech ingredients safe for beginners?
Yes, but start slow and monitor your skin’s reaction. - How can I manage pollen-related skin irritation?
Use calming products with aloe vera or niacinamide. - What’s the simplest way to embrace sustainability?
Choose refillable products or those with eco-friendly packaging.

As spring approaches, our skin undergoes a significant transformation. The chilly, dry air of winter gives way to humidity, sunlight, and increased outdoor activity. To keep your skin glowing and healthy, transitioning to a tailored spring skincare routine is essential. On my journey to achieving radiant skin, I’ve found that understanding your unique skin type is the key to unlocking the best results. Let’s dive into how you can adapt your routine for spring’s challenges!
Why Spring Skincare Needs Special Attention
Spring is a season of renewal for both nature and our skin. During winter, our skin often becomes dry and sensitive due to low humidity and indoor heating. Spring, however, brings pollen, higher temperatures, and increased sun exposure, all of which can influence our skin’s behavior.
On top of that, the skincare products that worked wonders during winter might no longer suit your spring needs. For instance, heavy moisturizers may clog pores in humid weather, while lighter products may lack the hydration needed for lingering dryness. By adjusting your skincare, you can prepare your skin to thrive in this season of change.
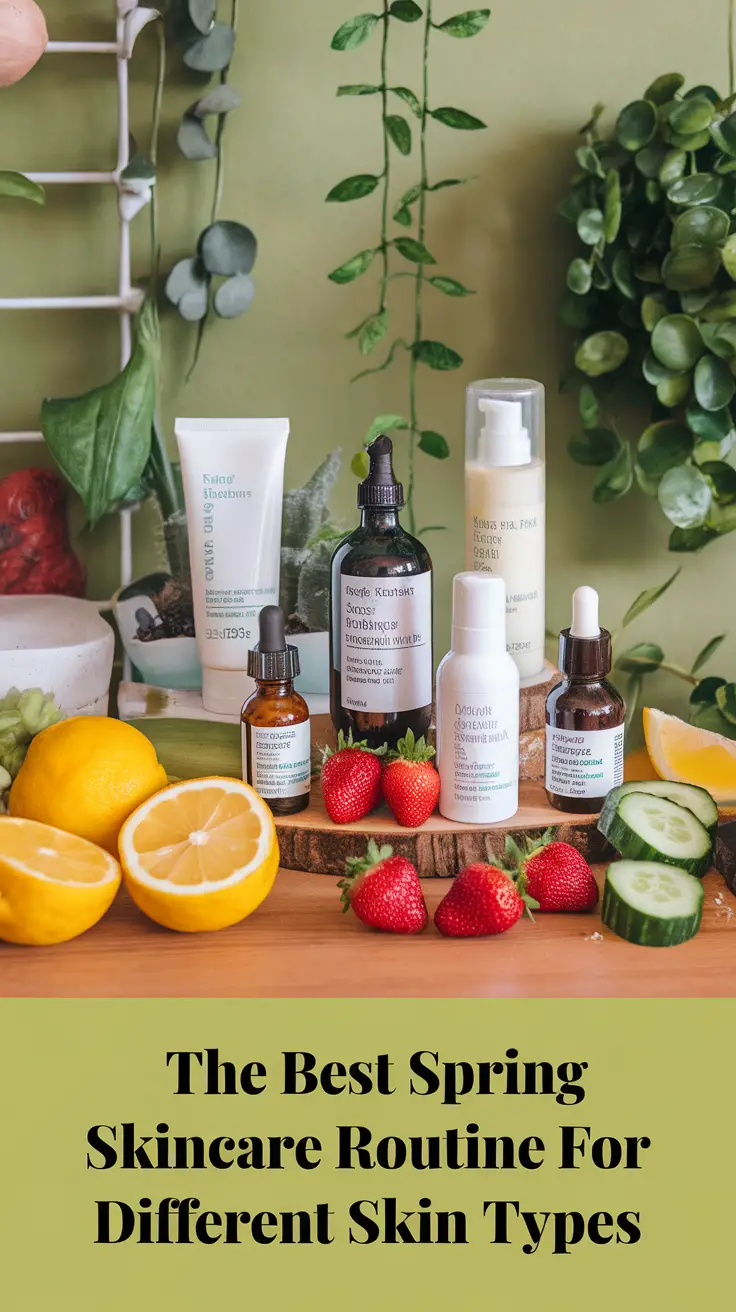
Identify Your Skin Type
Before curating your spring skincare routine, it’s crucial to understand your skin type. Here’s a quick overview to help:
| Skin Type | Characteristics |
|---|---|
| Normal Skin | Balanced, rarely breaks out, and feels neither too dry nor oily. |
| Dry Skin | Tight, flaky, or dull, especially during seasonal transitions. |
| Oily Skin | Shiny appearance, enlarged pores, and prone to acne. |
| Combination Skin | Oily in the T-zone (forehead, nose, chin) and normal or dry elsewhere. |
| Sensitive Skin | Redness, irritation, or reactions to weather, products, or environmental changes. |
Spring Skincare Routines Tailored to Skin Types
1. Dry Skin Routine
Spring might bring relief from winter dryness, but dry skin still needs extra hydration.
Morning Routine:
- Cleanser: A creamy, hydrating cleanser enriched with ceramides.
- Toner: Alcohol-free toner with rose water or glycerin.
- Serum: Hyaluronic acid serum to boost hydration.
- Moisturizer: A rich, nourishing cream that locks in moisture.
- Sunscreen: A moisturizing SPF 30+ for hydration and protection.
Evening Routine:
- Cleanser: Repeat the hydrating cleanser.
- Exfoliation: Use a gentle exfoliant twice a week to remove dead skin.
- Serum: Add peptides or ceramides for skin repair.
- Moisturizer: A thick night cream or sleeping mask for deep hydration.
2. Oily Skin Routine
Spring’s humidity can exacerbate oil production, making lightweight products essential.
| Step | Product Recommendations |
|---|---|
| Cleanser (Morning) | Gel-based or salicylic acid cleanser to control sebum. |
| Toner | Witch hazel or niacinamide-based toner. |
| Serum | Lightweight serum with niacinamide or zinc to regulate oil production. |
| Moisturizer | Oil-free, mattifying moisturizer. |
| Sunscreen | Non-comedogenic, broad-spectrum SPF 30+. |
Evening Routine:
- Repeat the cleanser and toner.
- Exfoliate 2–3 times weekly with a BHA exfoliant.
- Use a retinol treatment to reduce oil production.
- Finish with a gel-based moisturizer.
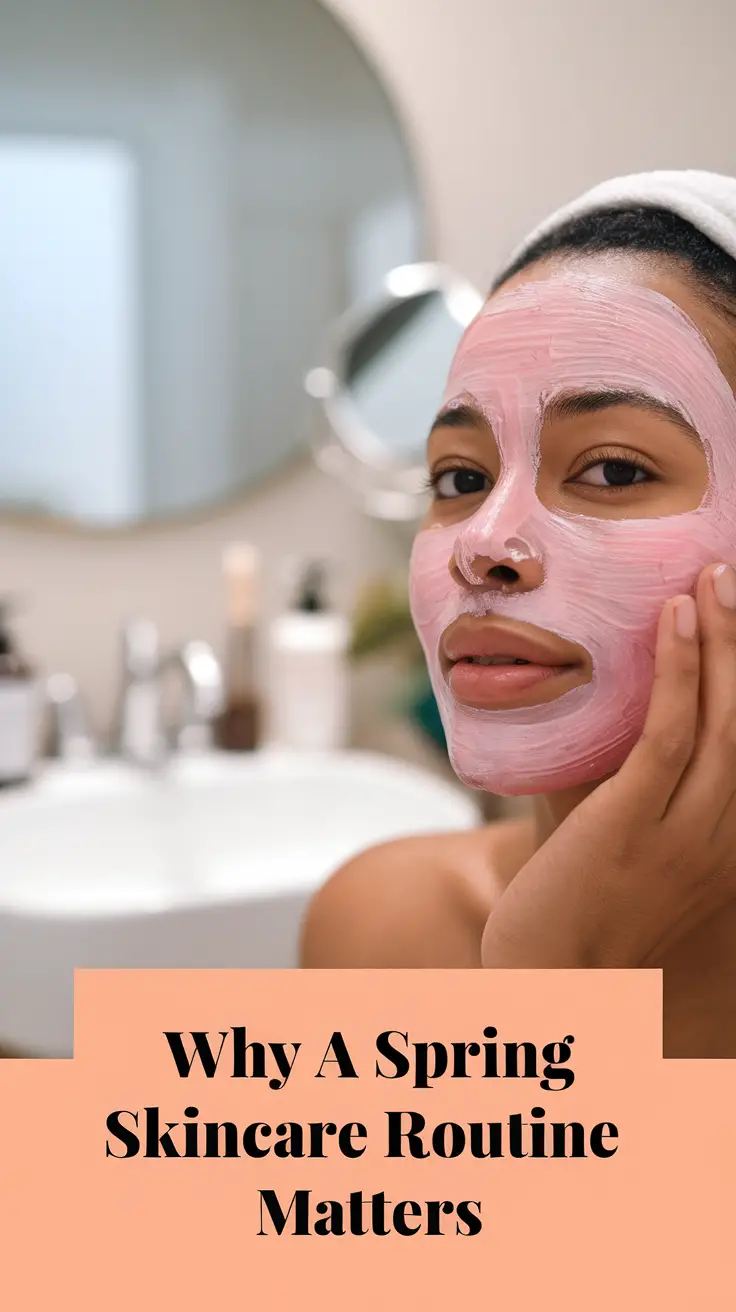
3. Combination Skin Routine
Balancing hydration and oil control is the goal for combination skin.
Morning Routine:
- Cleanser: Use a gentle foaming cleanser.
- Toner: A balancing toner to hydrate dry areas and manage oil.
- Serum: Vitamin C serum for brightness and even skin tone.
- Moisturizer: Apply lightweight moisturizer where needed.
- Sunscreen: Choose a broad-spectrum sunscreen that suits combination skin.
Evening Routine:
- Exfoliation: Use a mild exfoliant once or twice a week.
- Treatment: Apply acne spot treatment on oily areas if needed.
- Moisturizer: A lightweight night cream that won’t clog pores.
4. Sensitive Skin Routine
For sensitive skin, simplicity and gentle products are non-negotiable.
Morning Routine:
- Cleanser: A fragrance-free, soothing cleanser.
- Toner: Aloe vera or chamomile-based toner for calming effects.
- Serum: Hyaluronic acid serum with minimal ingredients.
- Moisturizer: Hypoallergenic, calming moisturizer.
- Sunscreen: Mineral-based SPF to minimize irritation.
Evening Routine:
- Exfoliation: Limit to once a week with a gentle scrub or enzyme-based exfoliant.
- Treatment: Niacinamide-based products to reduce redness.
- Moisturizer: Apply a reparative night cream.
Additional Spring Skincare Tips
- Hydration Matters: Drink at least 2 liters of water daily for glowing skin.
- Sun Protection: Reapply sunscreen every two hours when outdoors.
- Seasonal Treatments: Try clay masks for detox or hydration masks to replenish moisture.
- Diet: Include antioxidant-rich foods like berries and leafy greens to fight free radicals.
FAQs
1. How often should I exfoliate in spring?
Exfoliate 1–2 times per week, depending on your skin’s sensitivity and needs.
2. What’s the best sunscreen for spring?
Opt for a broad-spectrum SPF 30+ suited to your skin type. Look for lightweight, non-comedogenic formulas for oily or combination skin.
3. Can I use my winter moisturizer in spring?
Transition to a lighter moisturizer unless your skin remains very dry.
4. How do I prevent spring allergies from affecting my skin?
Wash your face frequently, avoid touching your face, and use calming skincare products to minimize reactions.
5. Are natural remedies effective for spring skincare?
Yes! Green tea as a toner and aloe vera gel are great for soothing skin naturally.
Conclusion
Spring offers a fresh start for both your lifestyle and your skincare routine. By understanding your skin type and addressing seasonal challenges, you can create a routine that keeps your skin glowing all season long. Don’t wait—start transitioning your skincare today, and watch your skin blossom along with the season!

-

 Makeup Trends2 years ago
29 Harley Quinn Makeup Ideas: Iconic Looks for Every Occasion
-

 Hairstyle2 years ago
Round Face Haircuts Ideas 2025: 29 Flattering Styles to Try
-

 Hairstyle2 years ago
25 90s Layered Hair Ideas to Inspire Your 2025 Look
-

 Fashion2 years ago
27 Every Day Spring Outfits Inspiration for 2025
-

 Hairstyle2 years ago
29 Long Layered Haircuts Ideas for 2025
-

 Hairstyle2 years ago
64 Fall Hair Color Trends to Elevate Your Style in 2024
-

 Hairstyle2 years ago
Choppy Bob Haircuts 2025: 29 Stylish Ideas
-

 Hairstyle2 years ago
27 Medium Length Haircut with Layers Ideas for 2025